
Saturday, 20 December 2014
Front Cover Process 8
Front Cover Process 7

Front Cover Process 6

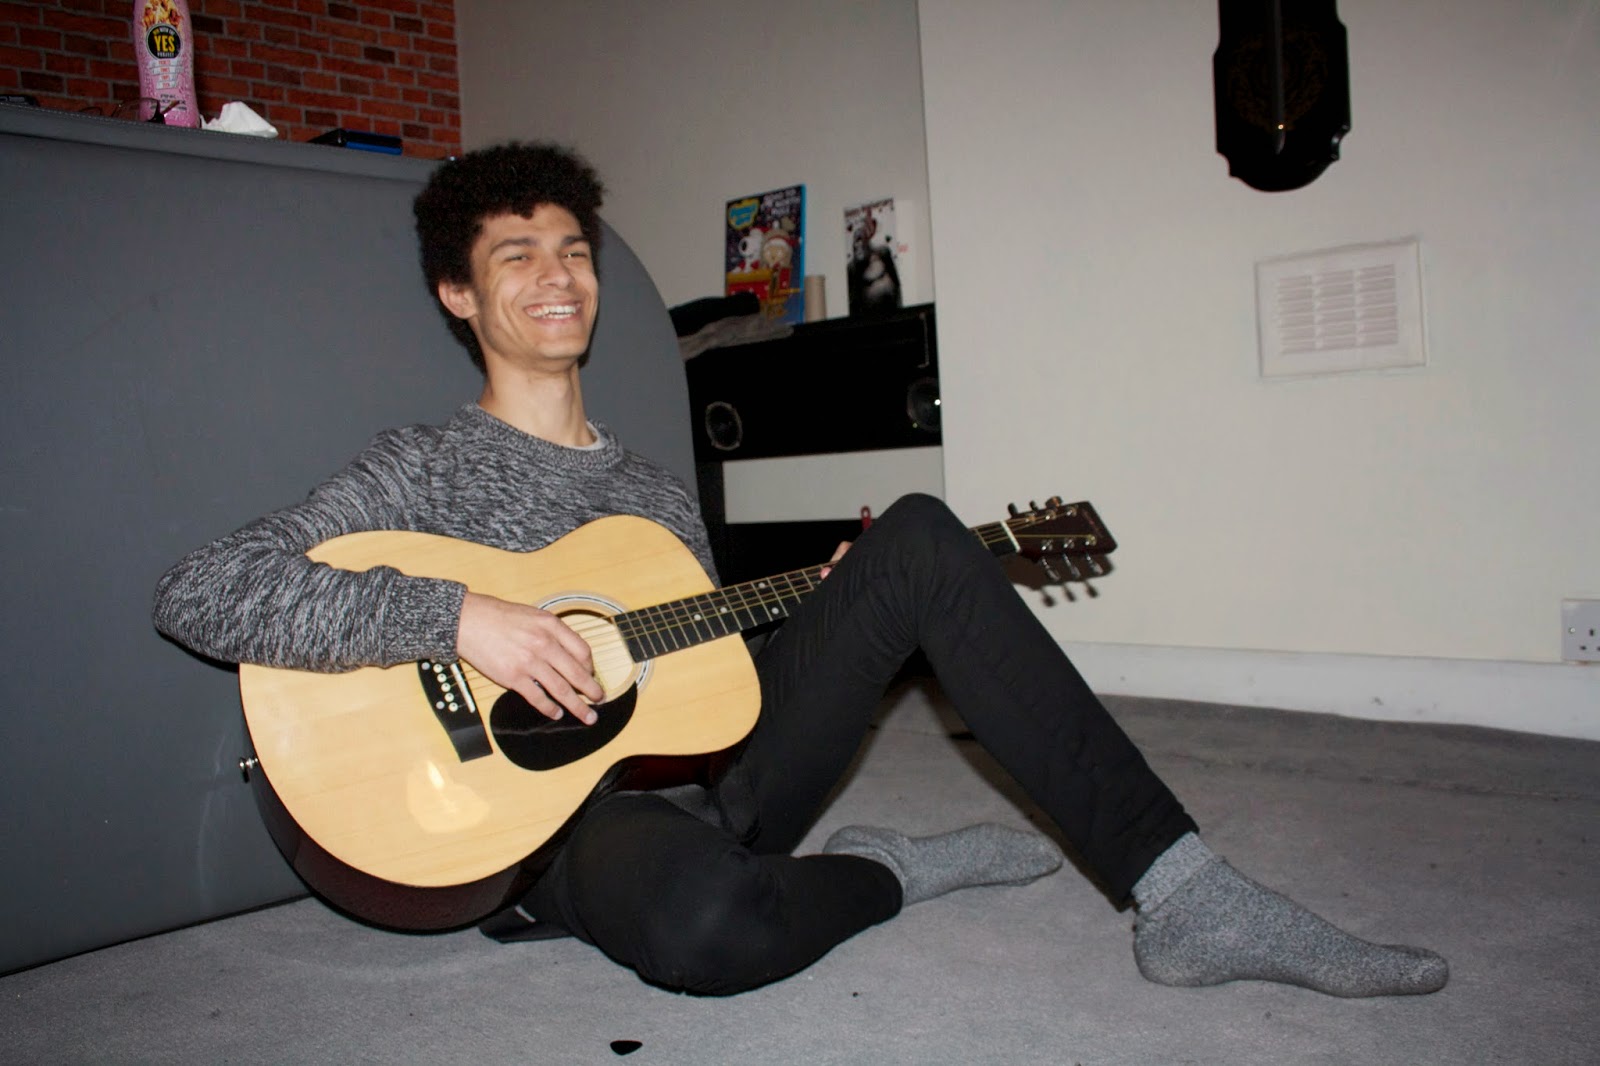
Front Cover Process 5

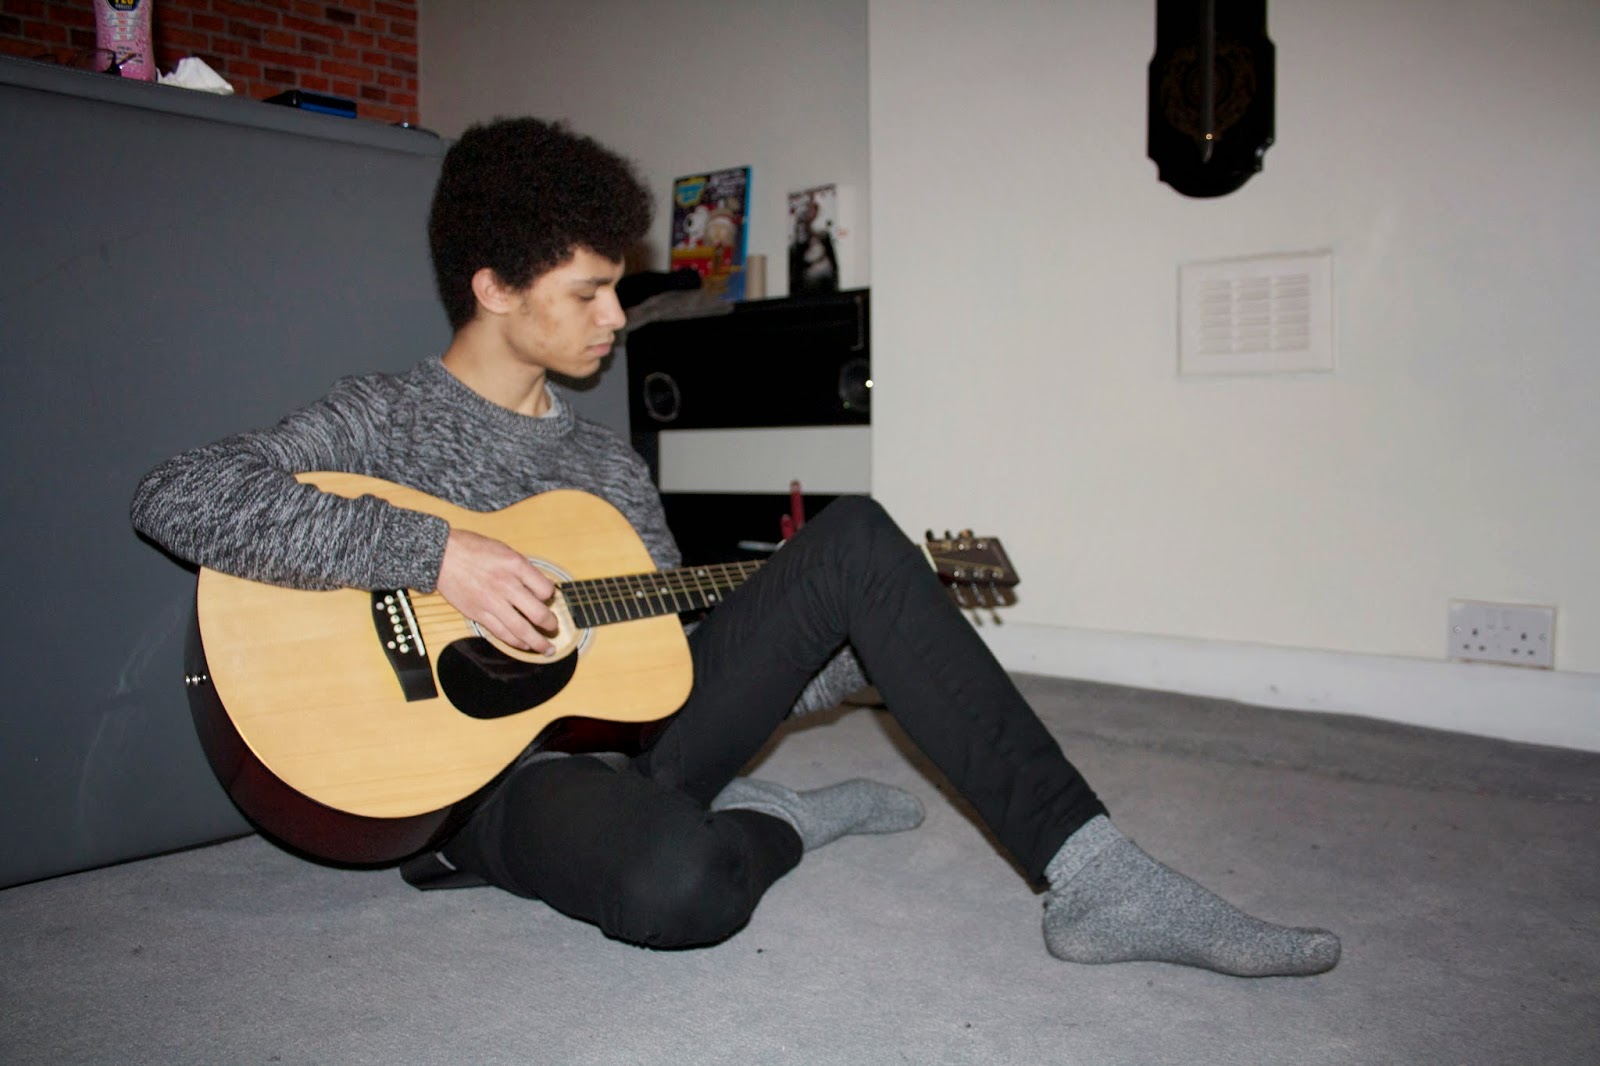
Front Cover Process 4

This stage was making the black and white more bolder, to do this I selected the background layer, went onto image then adjustments and curves then played around till I liked it which got me this.
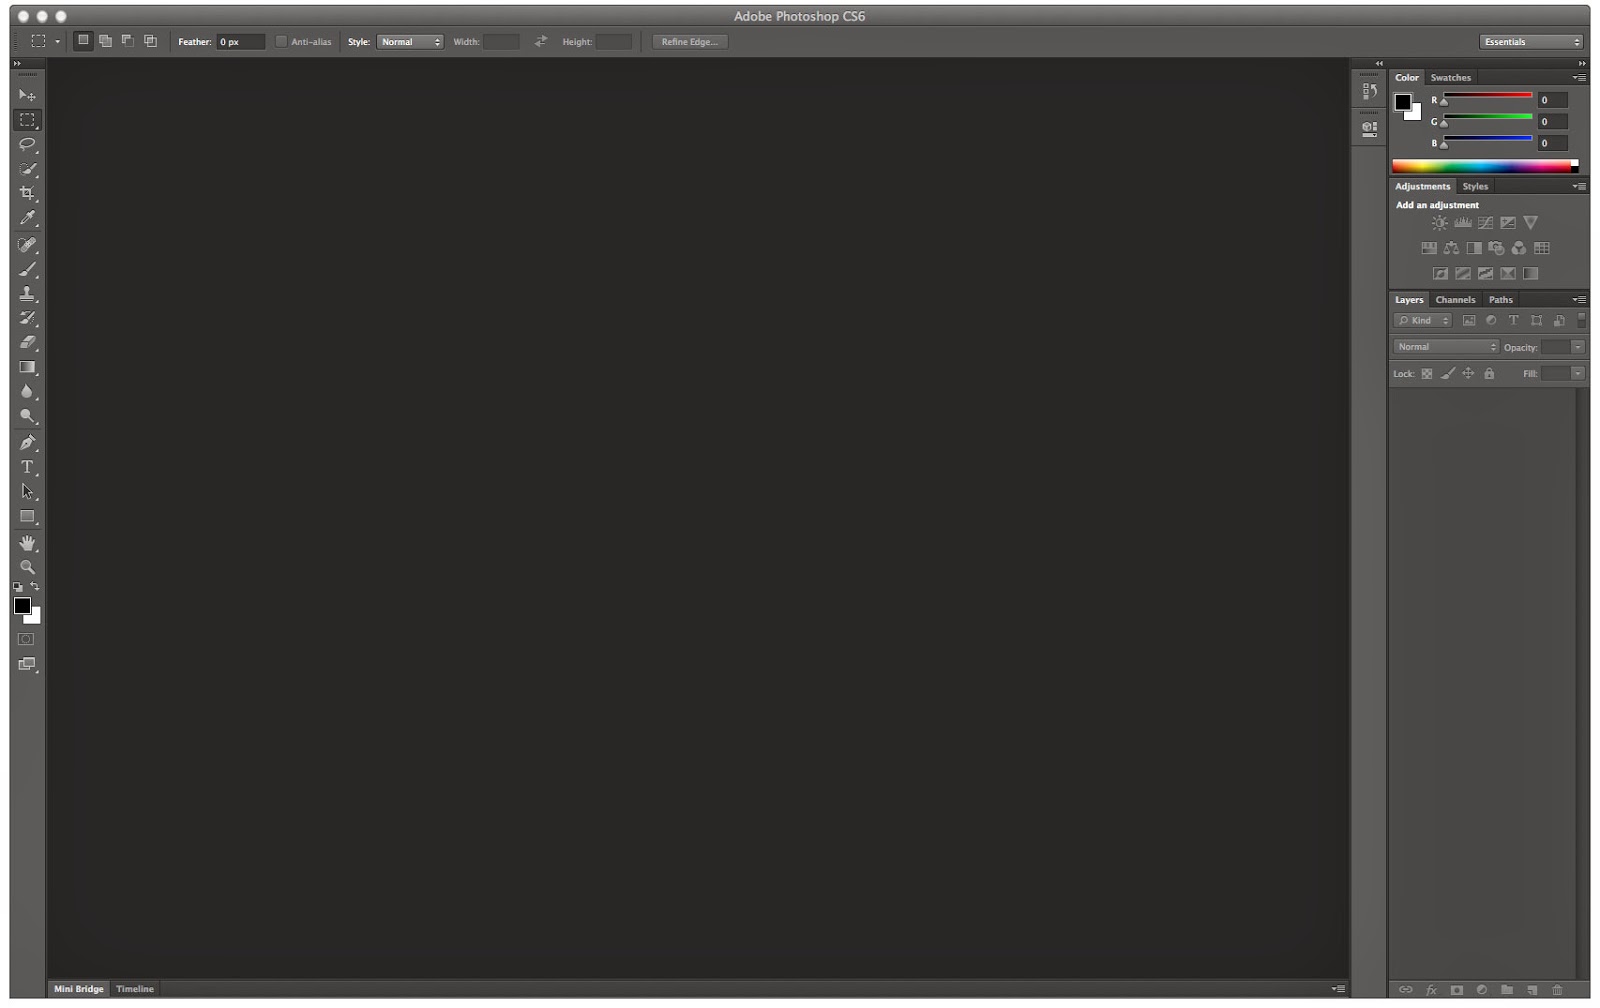
Front Cover Process 3

Front Cover Process 2

Front Cover Process 1

Friday, 19 December 2014
Props For The Shoot

Above is a Gif I made using gifmaker.me and in the gif you will be able to see the props and costume I used dying this shoot for my front cover.
Monday, 8 December 2014
Weekly Plan 4
This week I plan to do the interview questions for my double page spread story. Since I actually did more than planned last week such as my real shots for the front cover, along with the risk assessment, location recce, my shooting schedule and weather posts to check if I can go through with my shoot on the day planned, I plan on starting rather my front cover, or I may start editing my photos for that and coming up with what to put on my front cover.
Sunday, 7 December 2014


Friday, 5 December 2014


Tuesday, 2 December 2014
Double Page Spread Test Shots

These images again were taken on the SLR camera I will be using for the actual shoot, I was trying different thing to see which I prefer and to see which ones my model was most comfortable with. I will pick closer to the time which pose and style of the spread I will use. These test shots are also inside, although used with flash it made a darker area around the outside, but my actual shoot will be out side so the lighting will be better and it will not have to use the flash.


Costume Research

Above is a gif I created using gifmaker.me to show male fashion and how I came up with my models costume. I focused on the older side again, making it casual but not too boring, I think the leather jacket and shirt go well together for a casual cool look so I've chosen to use both of them, I think this look relates to my target audience as its an older but casual look.
Monday, 1 December 2014
My Model Test Shots
Bellow are images I took on a SLR camera to test it out with my model and to show who my model is.

Final Masthead

After thinking for a while, i've decided to use this font for my magazine masthead, I like how its simple yet cool, but I might change it to this one depending on how the picture turns out, this font is called "Orange Juice".
The other font I might use for my masthead is the one bellow, for similar reasons as the first, but its filled and I like the "stitching" round the letters. This font it called "Fabrics".
I will add a post when i have completed the masthead, including colours.
I will add a post when i have completed the masthead, including colours.

Technology Used

Apple Mac
The apple mac is the most important tool we use, this is the base for everything, we access our blogs on here, we use photoshop on here, we access everything we need to use to create our magazines, but the camera, we can use prezi on there also.

SLR Camera
Photoshop
Photoshop is used a lot to in media, we need this like we need everything else, we need it to edit pictures we are using, to create our magazine, this is the finishing touches to what we need.
Weekly Plan 3
This is my third weekly plan, this week Im planning on getting quite a bit done, last week including what I did I also got my model release form done so I could do my shoot, I'm going to do my drawn drafts of my front cover, contents page and double page spread. I also plan to talk about the technology we use in during the time in class and out of it and why those things are important, for example the Apple Mac we use daily. Though I had ideas about my masthead and I wanted to have a final idea of what one I will use I will show the two Im stuck between and I will do some research into the costume I will use on my shoot and the final costume choice including images. I also have decided to do some test shots of what I would like my model to do in the shoot so I have a rough idea of how I can take my shots at my location.
Subscribe to:
Comments (Atom)